English
Jul.17,2026
Understand the configuration, and you hold the key to choosing the right PMU needle.
RL, RS, F, M – the four core needle configurations in PMU, covering the three basic techniques: lining, shading, and coloring. These are fundamental skills every beginner must master. But to newcomers, these needle codes can feel like a difficult puzzle – choose wrong, and the price is poor retention or skin damage. Don’t worry – we’re here to help you decode them. Let’s make needles easy to understand, so your tools match your creativity.
What is PMU needle configuration?
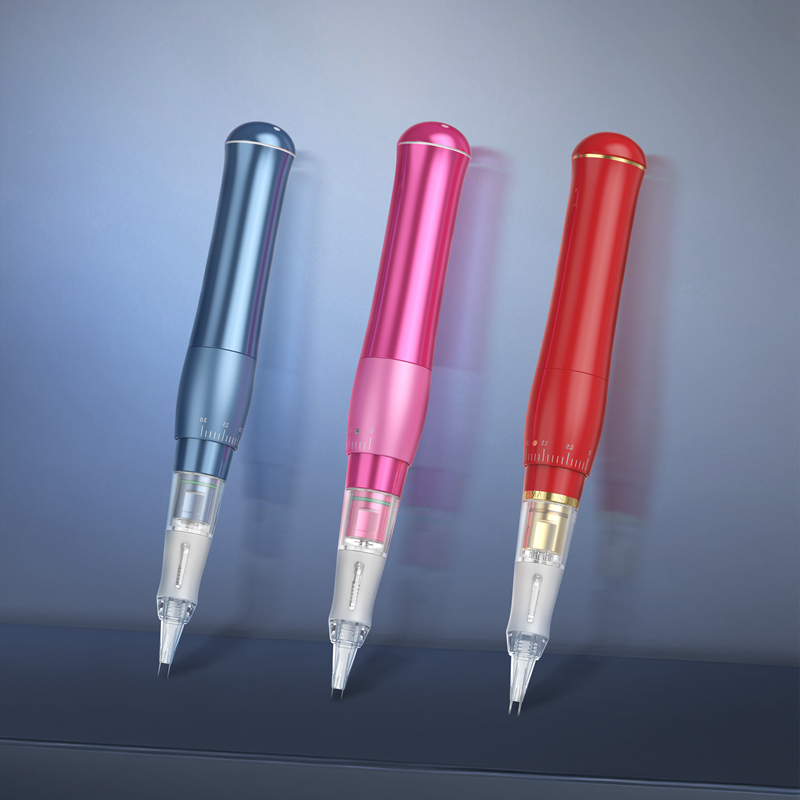
A PMU needle is not a single needle. It consists of multiple ultra-fine needle tips welded onto a needle bar, then encased in a plastic cartridge.
Configuration refers to the arrangement of those needle tips – grouped into a tight circle, lined up in a row, or stacked in two rows. This arrangement directly affects how the needle deposits pigment into the skin, determining whether it’s best for lining, shading, or coloring.
Understand configuration, and you’ve unlocked the secret to choosing the right PMU needle.
RL (Round Liner) – Tight Round Needle
RL (Round Liner)
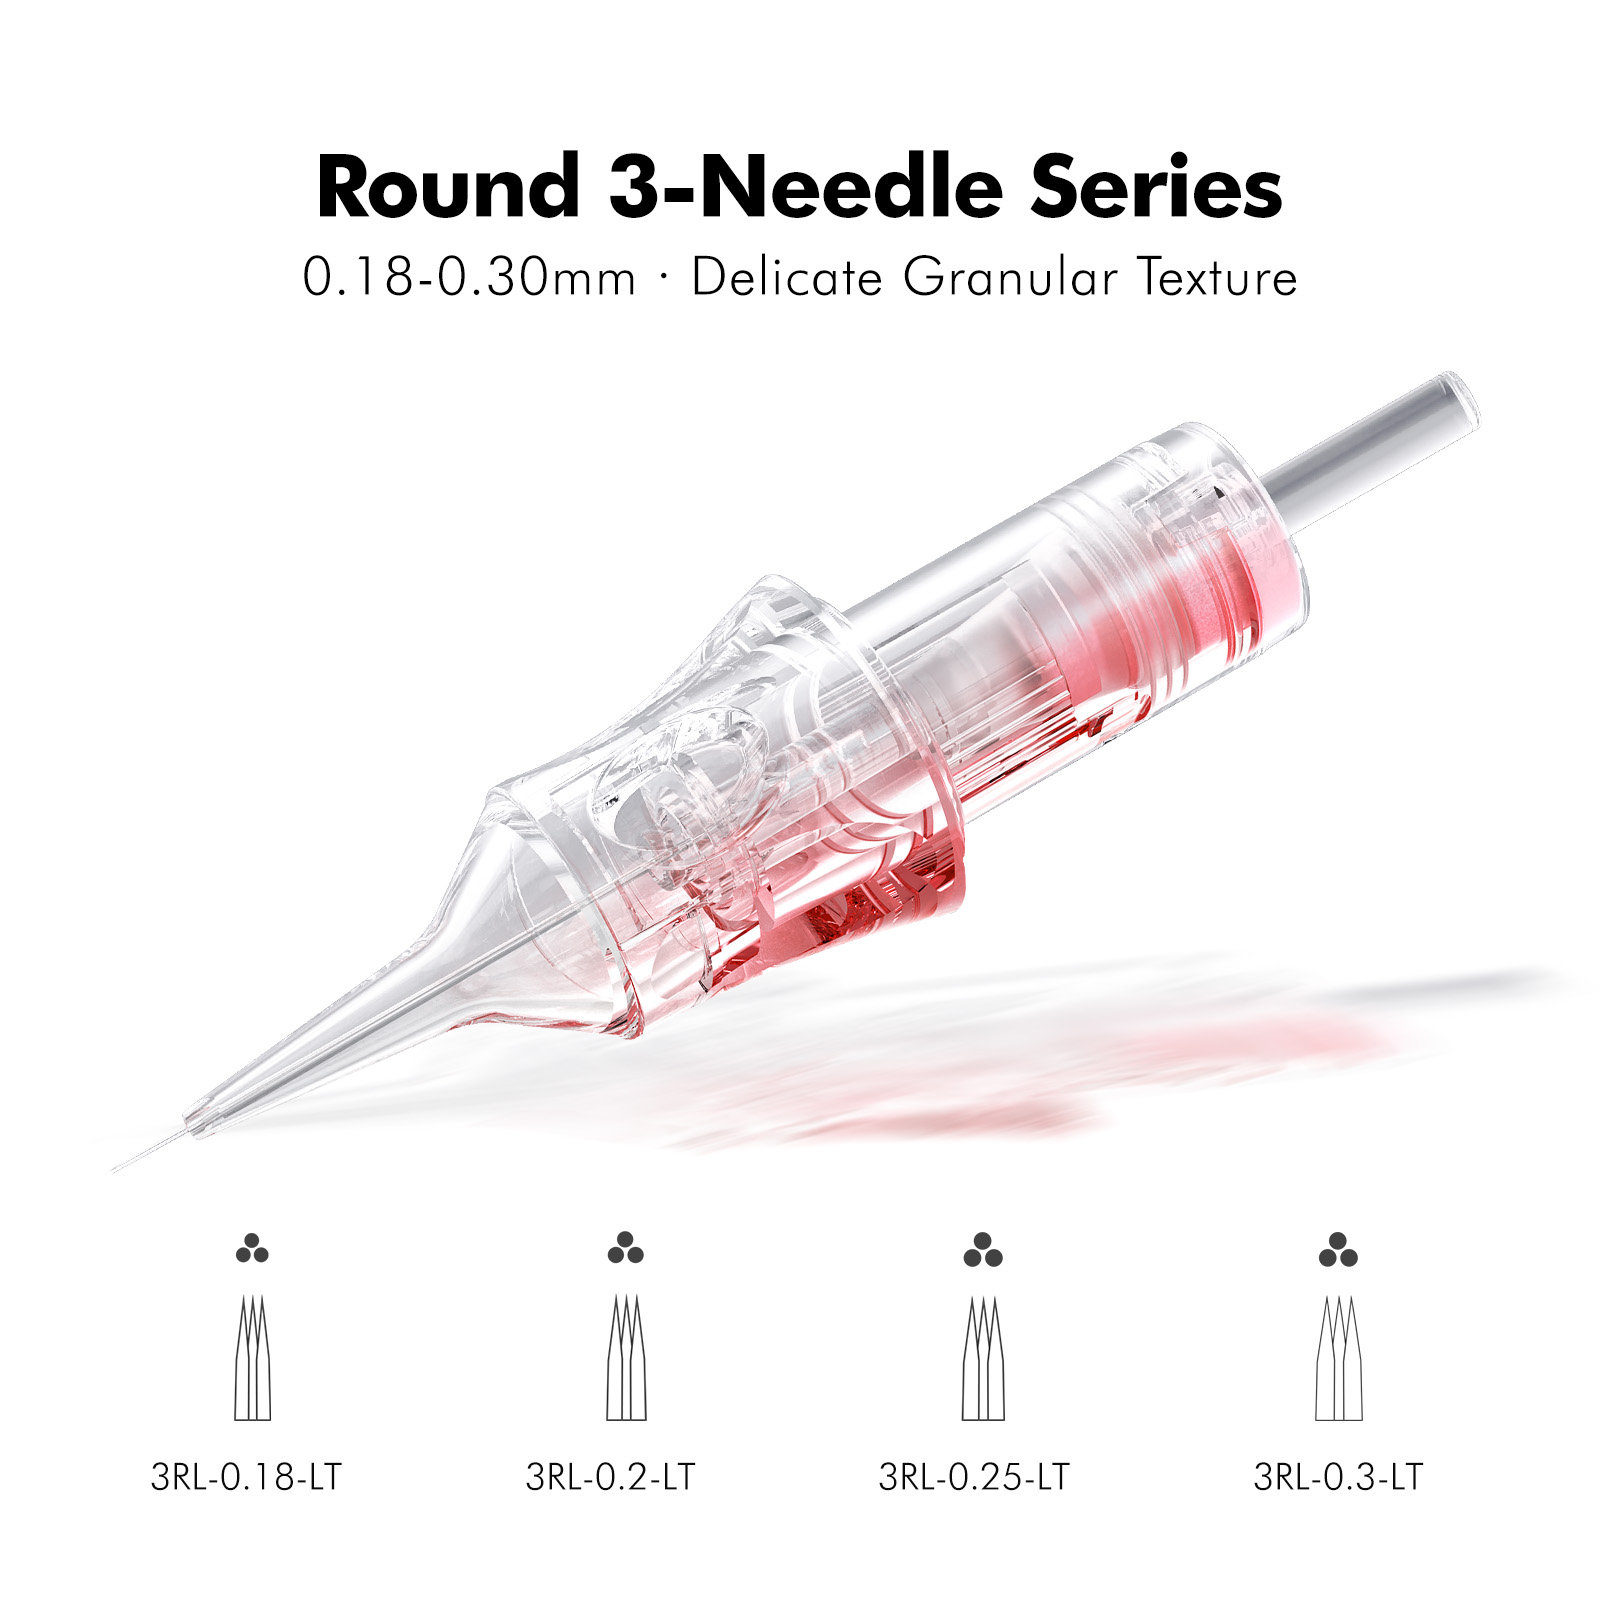
Structure: Needle tips tightly gathered into a circular point. Multiple needles welded closely together, all brought to one spot.
Primary use: Creating sharp, clean lines.
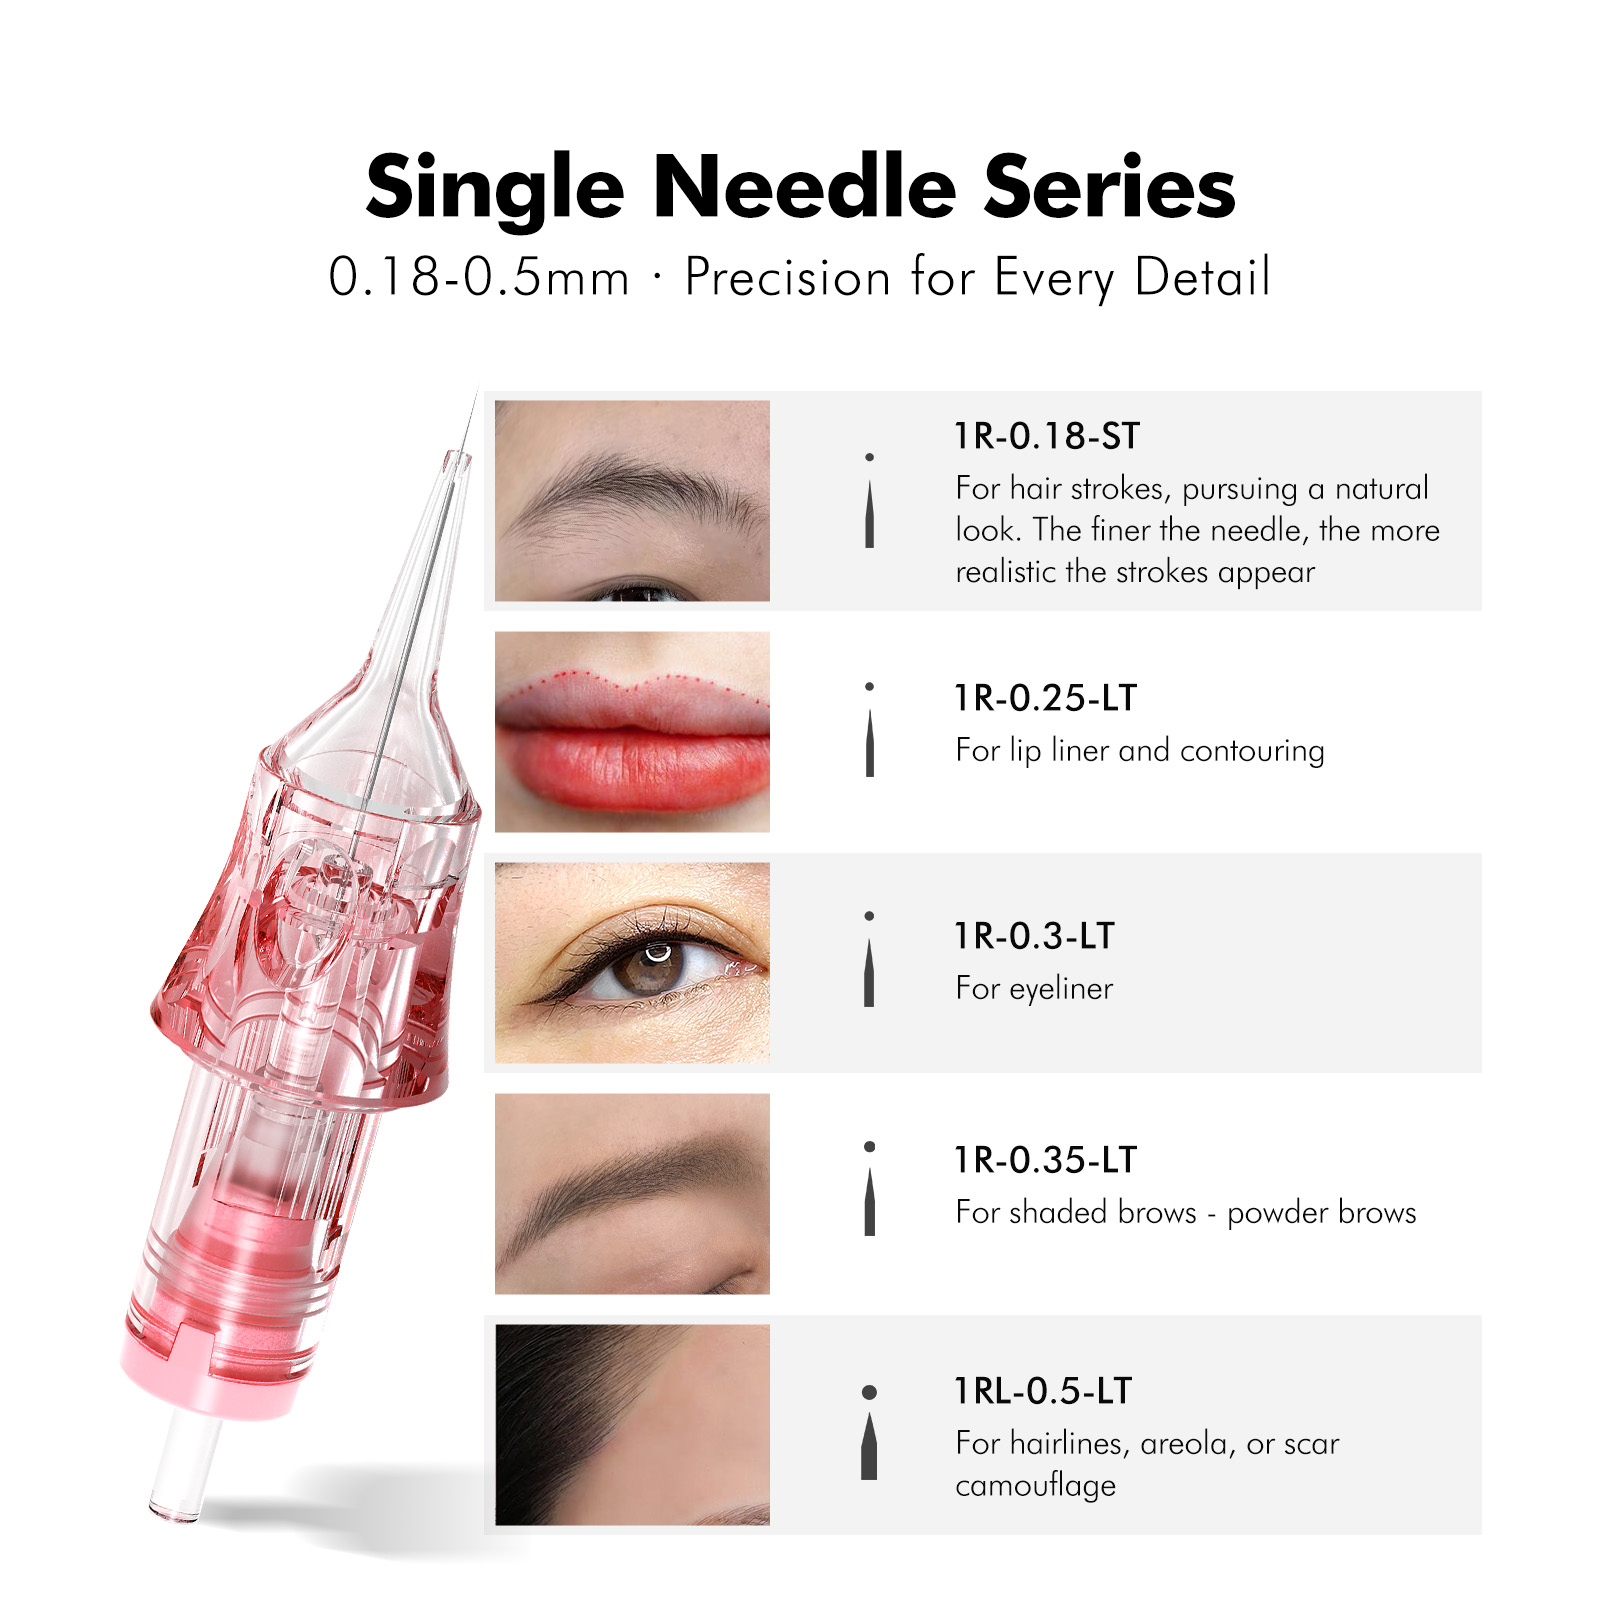
RL is one of the most basic needle types in PMU. Because the tips are tightly packed and the point is focused, pigment placement is extremely precise. It’s ideal for drawing hair strokes in eyebrows, lip liner definition, eyeliner, and various fine detail work.
Common needle counts and effects:
1RL / 3RL – ultra‑fine lines, perfect for delicate hair strokes and fine details
5RL / 7RL – wider coverage while keeping clean, sharp edges
Beginner tip: RL produces highly saturated lines, suitable for projects that need clear boundaries. The tighter the grouping, the more solid the line.
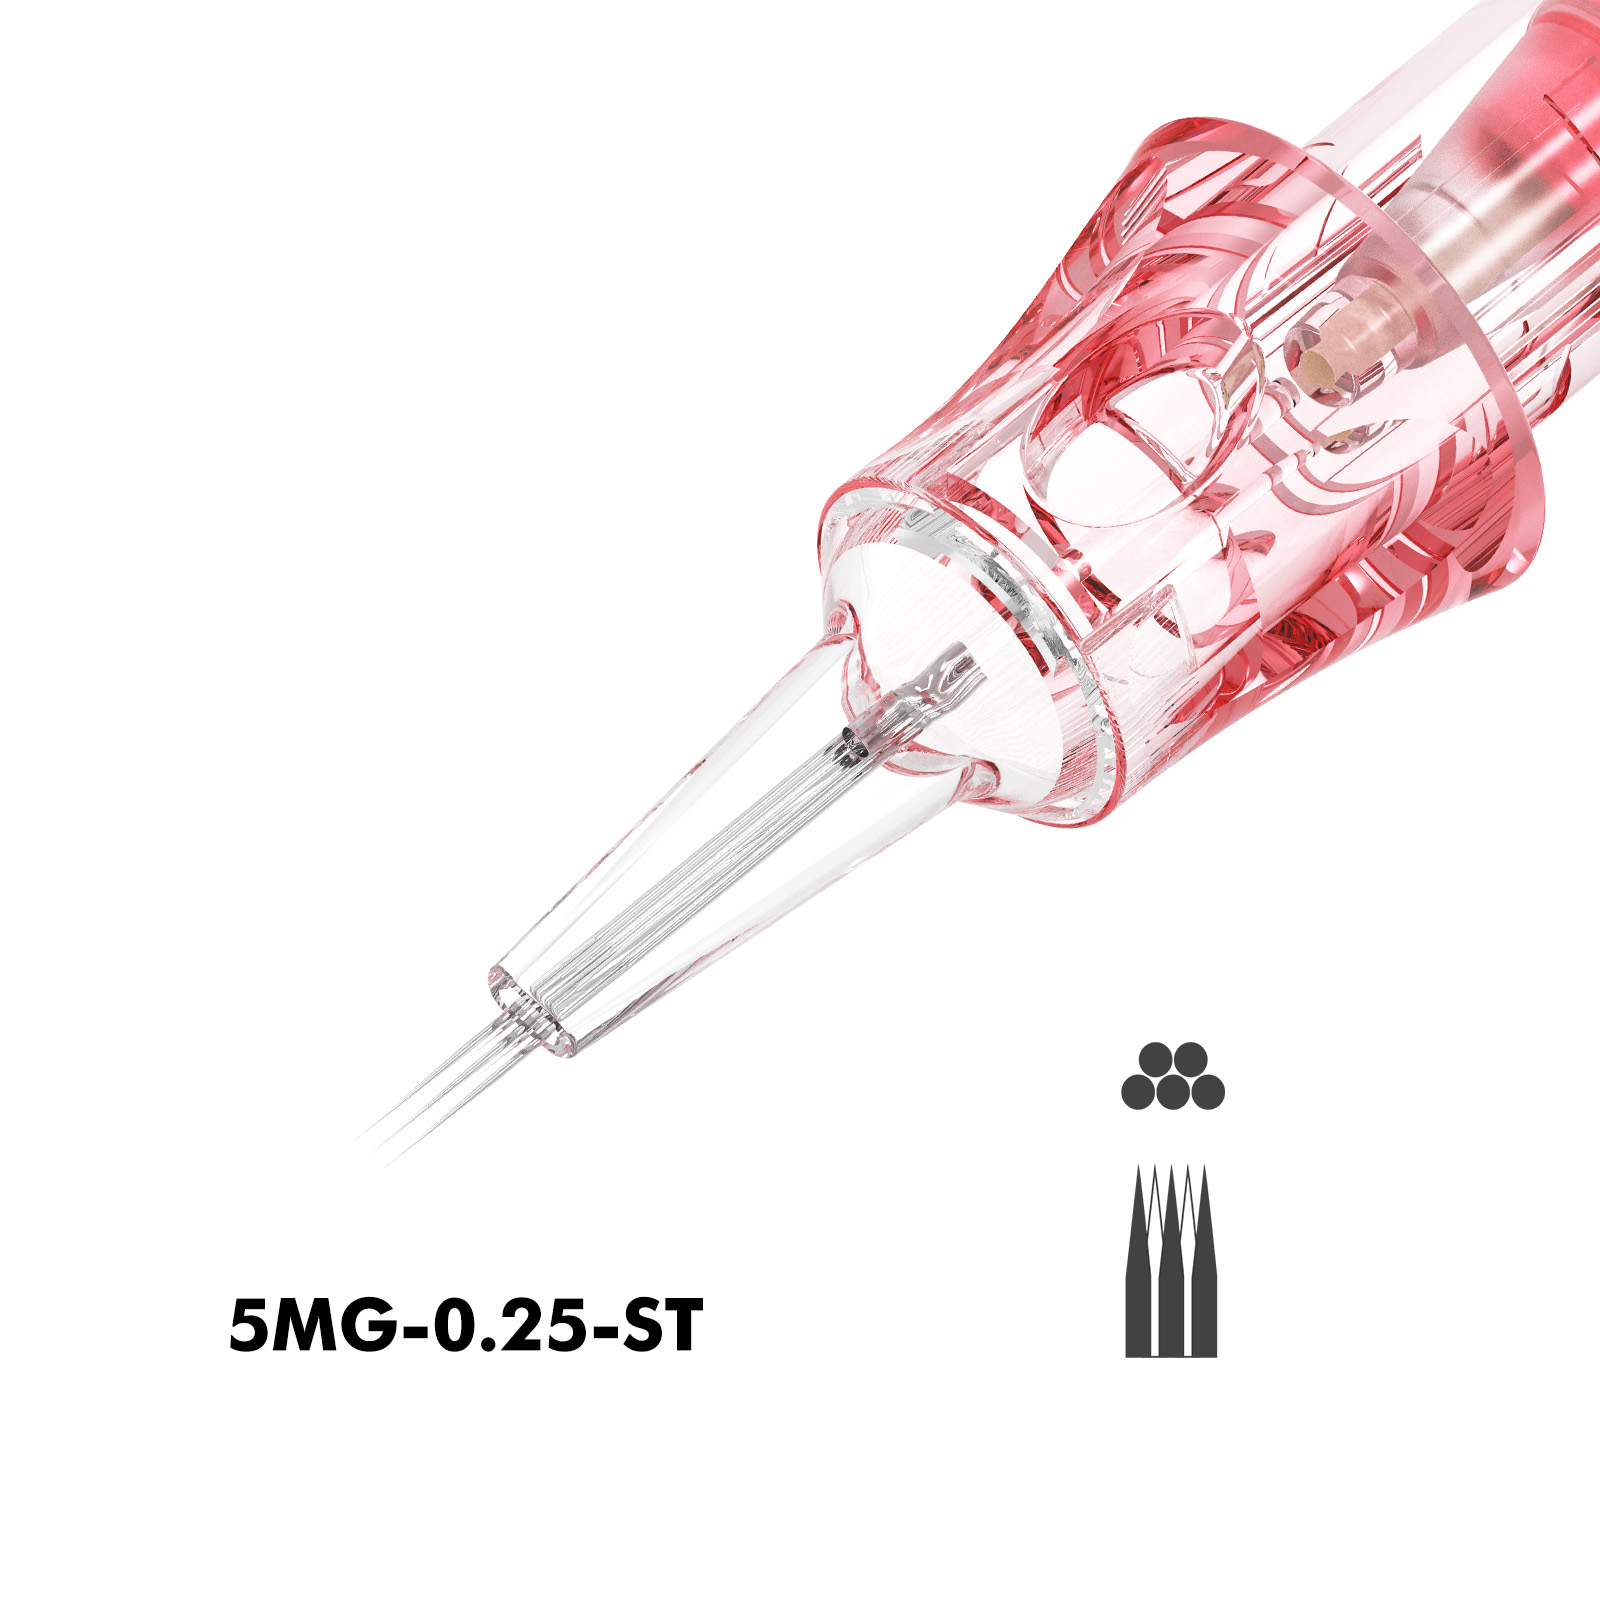
RS (Round Shader) – Loose Round Needle
RS (Round Shader)
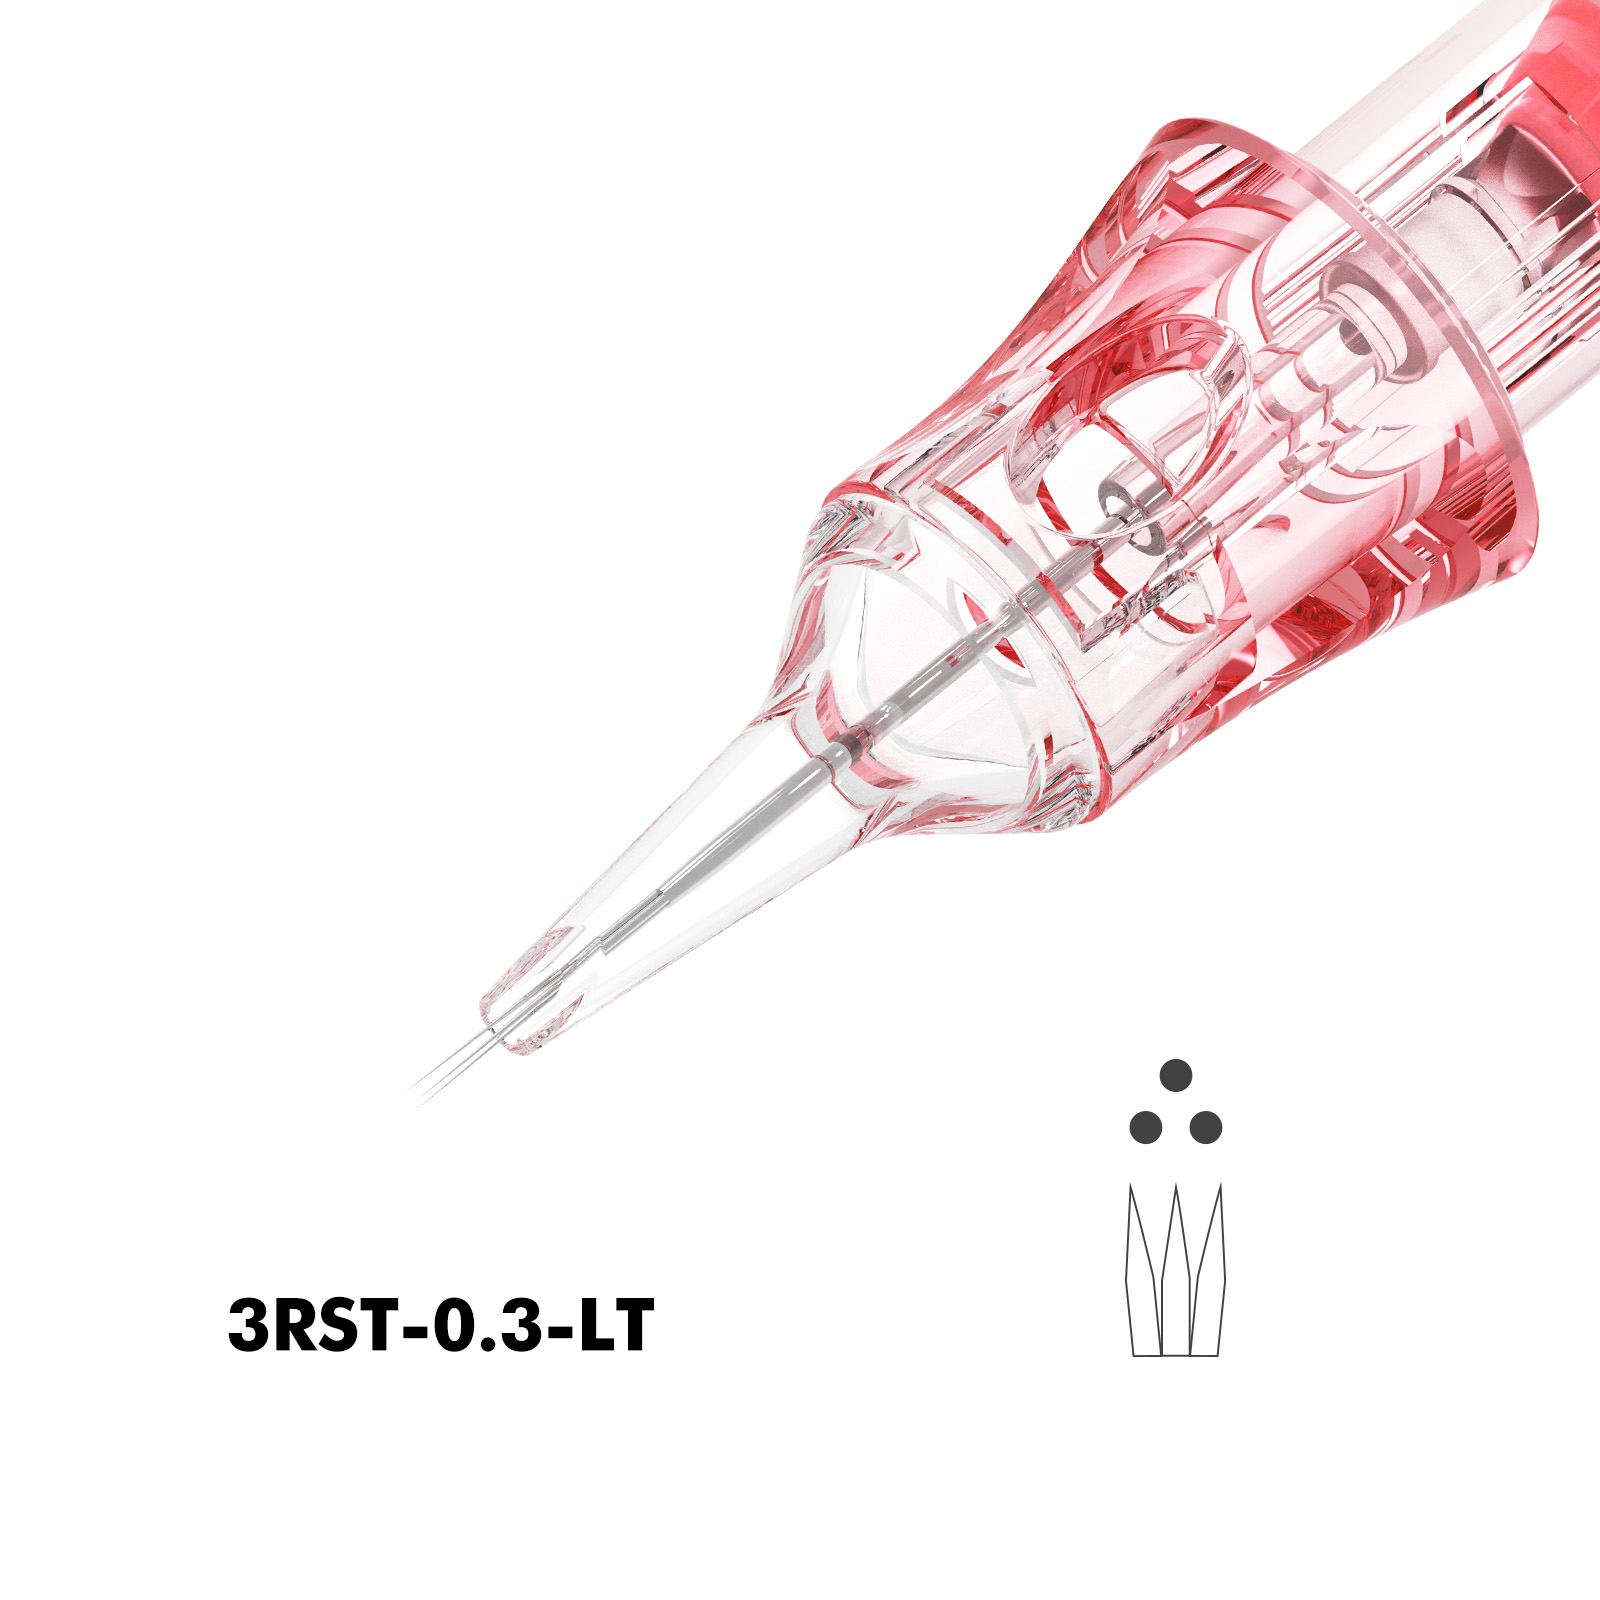
Structure: Needle tips loosely arranged in a circular pattern. Each needle is spaced slightly apart, forming a relatively open circle.
Primary use: Soft shading, gradient transitions.
RS delivers pigment more gently than RL. It’s ideal for small‑area shading, gradients, and powder effects. Because the tips are spread out, pigment placement is more diffused, creating a softer, more natural mist – perfect for lip gradients, powder brows, and soft eyeliner filling.
Common needle counts and effects:
3RS / 5RS – soft dispersion, natural mist, great for delicate gradients, brow transitions, powder brows, and small fills.
7RS / 9RS – larger coverage area, even mist, suitable for quick base shading, brow groundwork, or scalp projects.
Beginner tip: RS is a great helper for learning gradient transitions, especially for clients with sensitive skin or those needing low‑saturation effects.
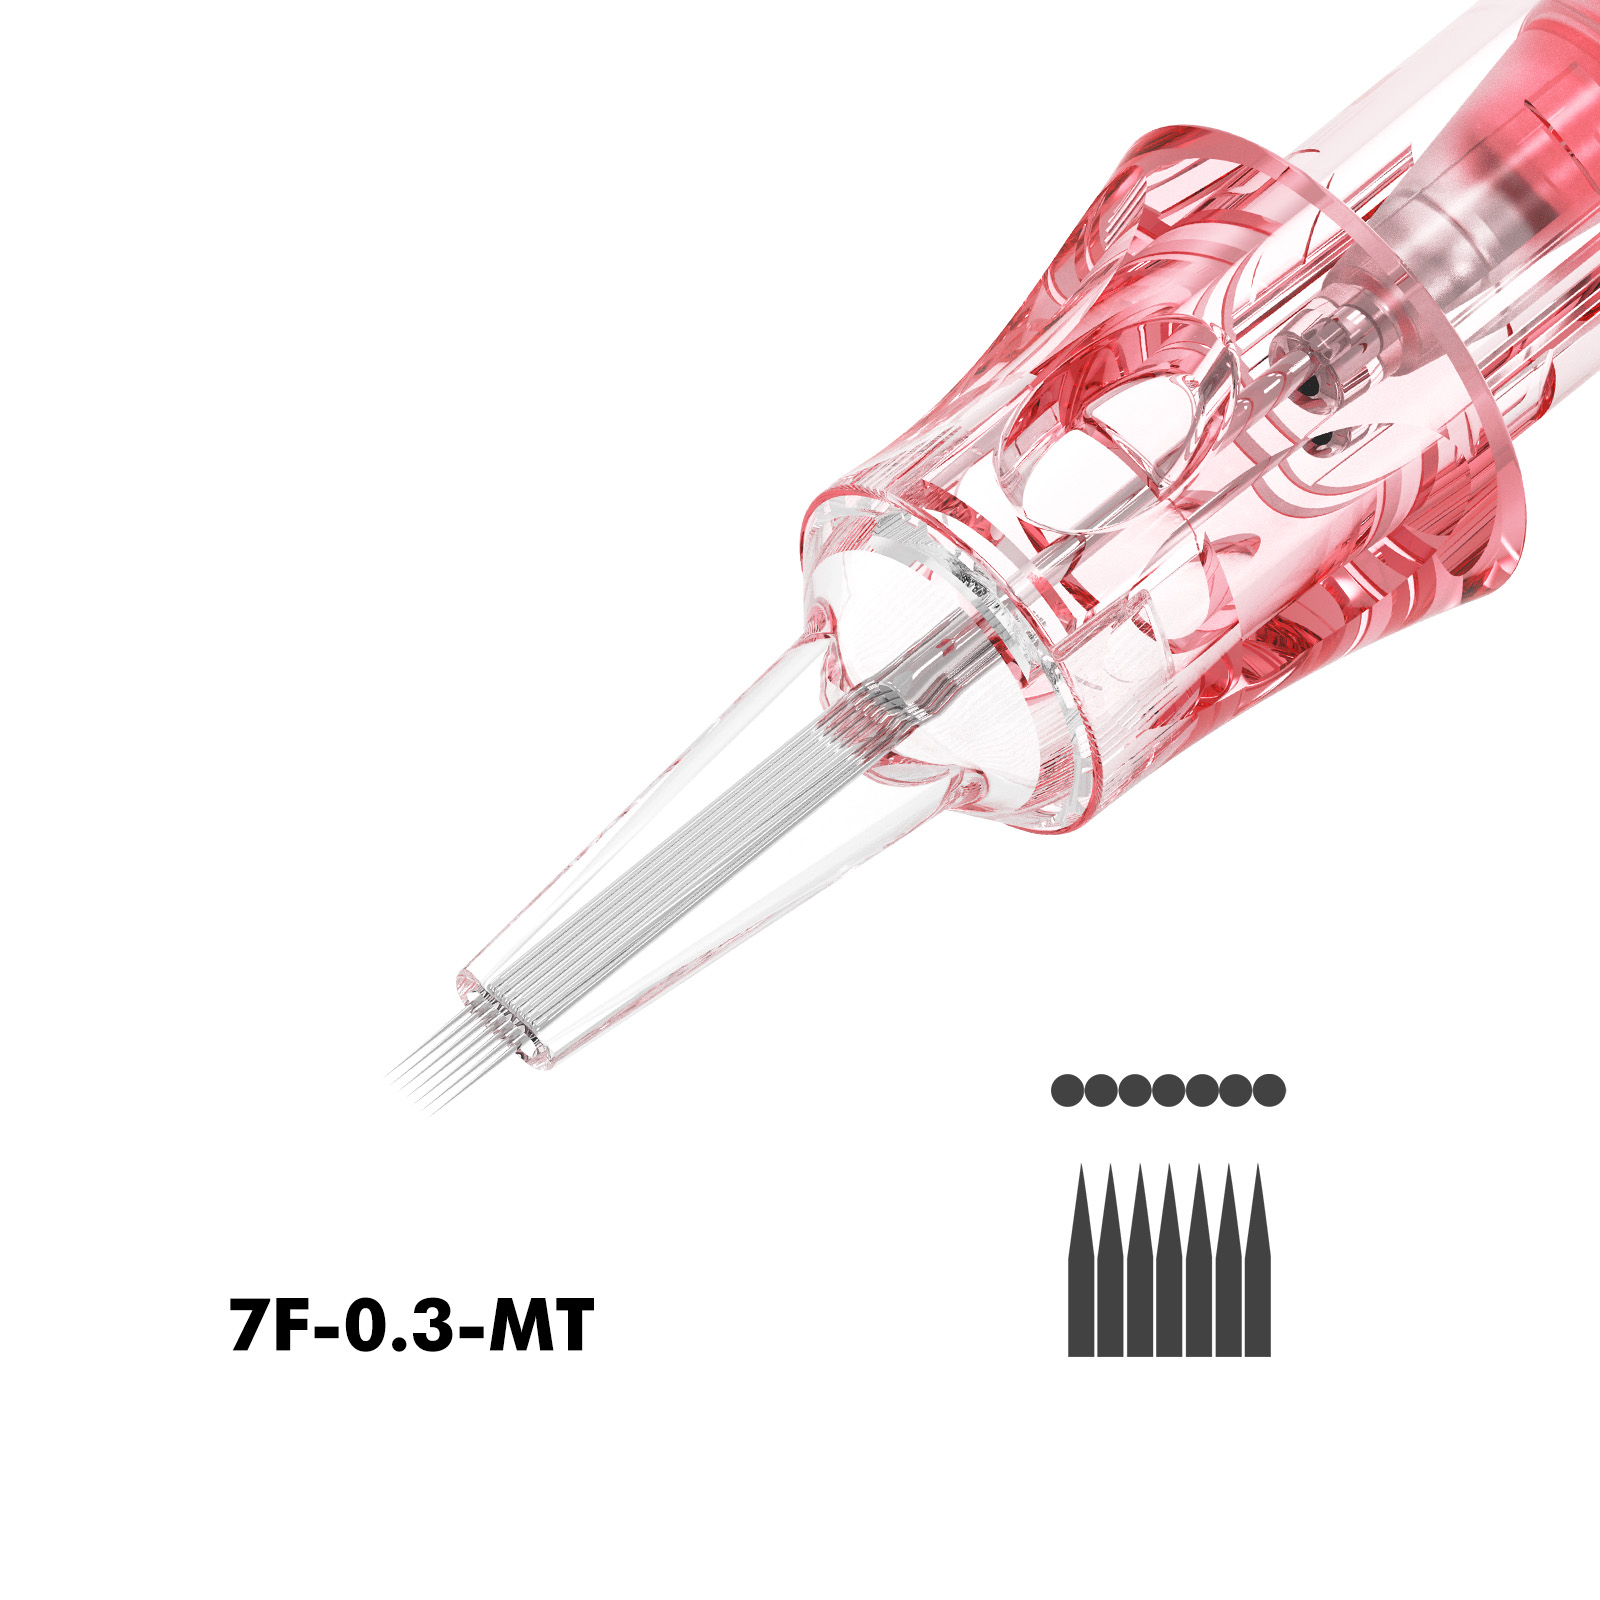
F (Flat) – Flat Needle
F (Flat)
Structure: Needle tips arranged in a single straight row – like a tiny flat brush.
Primary use: Filling, edge trimming, geometric shapes.
Flat needles can cover a larger area at once without oversaturating. They’re suitable for brow filling, powder brows, 3D effects, and especially good for crisp right angles and clean borders – outstanding in projects that need even color packing.
Common needle counts and effects:
3F / 5F – moderate coverage width, ideal for fine edge work, tiny area filling, brow filling, and lip base.
7F / 9F – even band‑like coverage, great for fast packing, large even fills, areola, and large scalp areas.
Beginner tip: Flat needles are especially good for lip filling and brow base – even coverage with high efficiency.
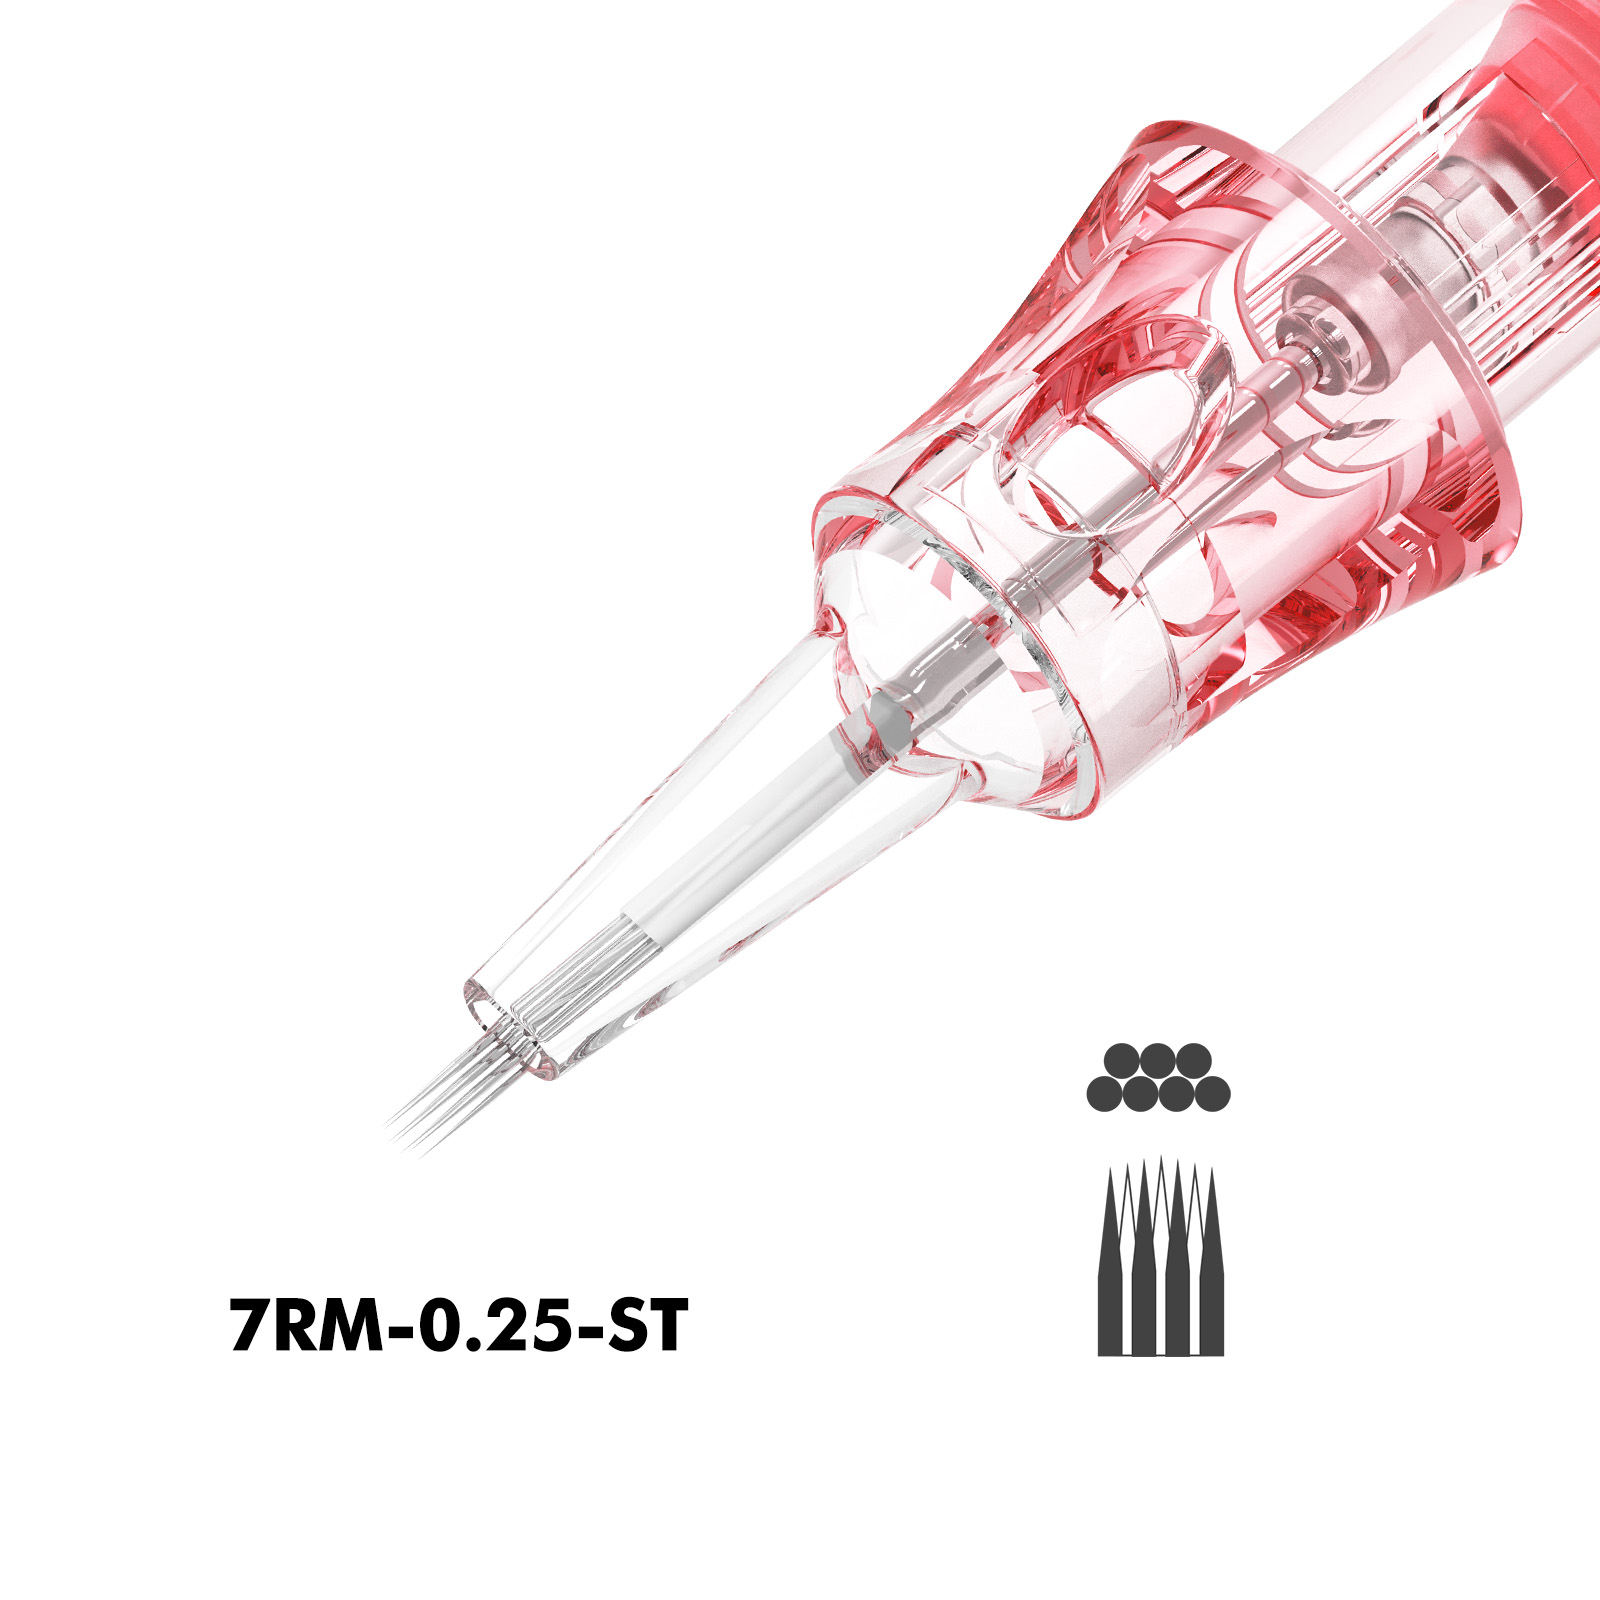
M (Magnum) – Magnum Needle
M (Magnum)
Structure: Needle tips stacked in two rows. This gives the largest coverage area of all configurations. Depending on how the two rows are arranged, Magnum is further divided into M1 (woven), M2 (stacked), and CM (curved Magnum).
Primary use: Large‑area coloring, fast packing.
Magnum needles are particularly suitable for broad shading work such as ombré brows, areola tattooing, and scalp micropigmentation (SMP).
Magnum subtypes – different uses:
Woven Magnum M1 Two rows arranged in a "Z"‑shaped staggered pattern Large‑area soft shading, gradient transitions
Stacked Magnum M2 Two rows parallel and overlapping Dense packing, high‑saturation fills
Curved Magnum CM Magnum bent into an arc Seamless shading along facial curves
Common needle counts and effects:
5M1 / 7M1 – small‑area woven Magnum, ideal for fine gradients, brow tail transitions
9M1 / 11M1 – wide Magnum, fast shading, large base filling – suitable for SMP, etc.
5M2 / 7M2 – dense packing, high‑saturation fills, covering, local dense fills, areola details
9M2 / 11M2 – large‑area dense packing – suitable for scalp, scar coverage, and other high‑saturation needs
5CM / 7CM – moderate curve that follows brow bone, natural shading transitions – ideal for brow arch, cupid’s bow, and other fine curved areas
9CM / 11CM – large‑area fast shading – suitable for full lip fills, scalp work, etc.
Beginner tip: Magnum needles are highly efficient for coverage, but you need to control pressure and angle. Too much force will cause significant skin trauma – it takes practice.
How to understand needle counts?
The number on a needle indicates how many needle tips it has.
For example:
3RL = 3 needle tips, round liner
5F = 5 needle tips, flat
7M1 = 7 needle tips, woven Magnum
The larger the number, the more tips and the wider the coverage – but fine detail decreases accordingly. Beginners are advised to start with smaller counts.
How to choose needles by procedure
Natural brow hair strokes RL (1RL / 3RL) Clean, sharp lines
Powder brow gradient RS / CM Soft transition, natural mist
Brow filling / base F / M1 Even coverage, high efficiency
Lip liner definition RL (3RL / 5RL) Clear outline, crisp border
Lip gradient / filling RS / F Gentle gradient, even packing
Eyeliner RL (1RL / 3RL) Fine lines, less risk of bleeding
Key factors when choosing a needle:
The procedure type (lines vs. shading vs. filling)
Size and sensitivity of the treatment area
Client’s skin type
Your personal technique preference
Beginner reminder: The above are general recommendations. In real practice, adjust based on client needs and your own style – don’t be too rigid.
Finding your perfect combination takes time. Practice, compare, and you’ll discover what works best for you.
Diameter & needle length – just as important
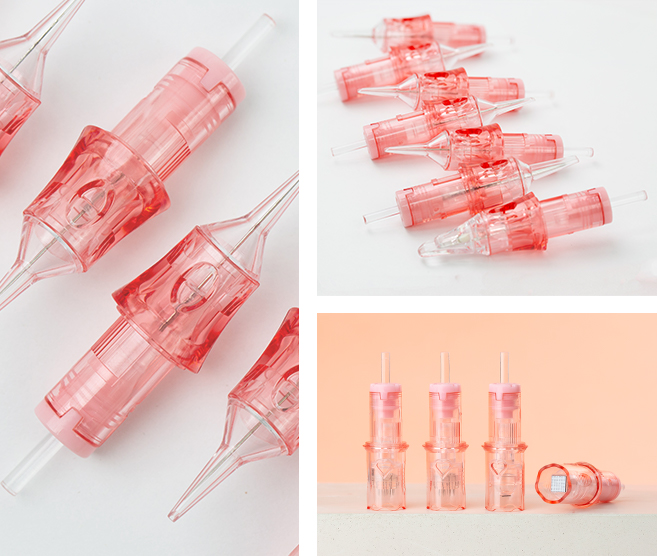
Besides configuration, two other key parameters matter on the needle packaging:
Diameter (needle thickness)
Common gauges: 0.20mm, 0.25mm, 0.30mm, 0.35mm
Smaller diameter = finer pigment points – ideal for delicate work
Larger diameter = more pigment flow – suitable for large‑area filling
Needle length
Long needle (≥4.0mm) – finer tip, less trauma – good for fine hair strokes and sensitive skin
Short needle (<2.5mm) – more “aggressive” delivery, fast saturation – good for high‑density projects
Medium needle (3.0–3.5mm) – balances both – best for beginners
Practical advice for beginners
Start with RL and RS – they are the foundation of all PMU procedures, with the widest applications. Get familiar with them first.
Medium length is friendliest – it balances saturation and control, with higher tolerance for mistakes.
Experiment to find your fit – every artist has a different hand and preference. It takes time and practice to find what feels right.
Your needle choice directly affects line sharpness, shading softness, and skin healing.
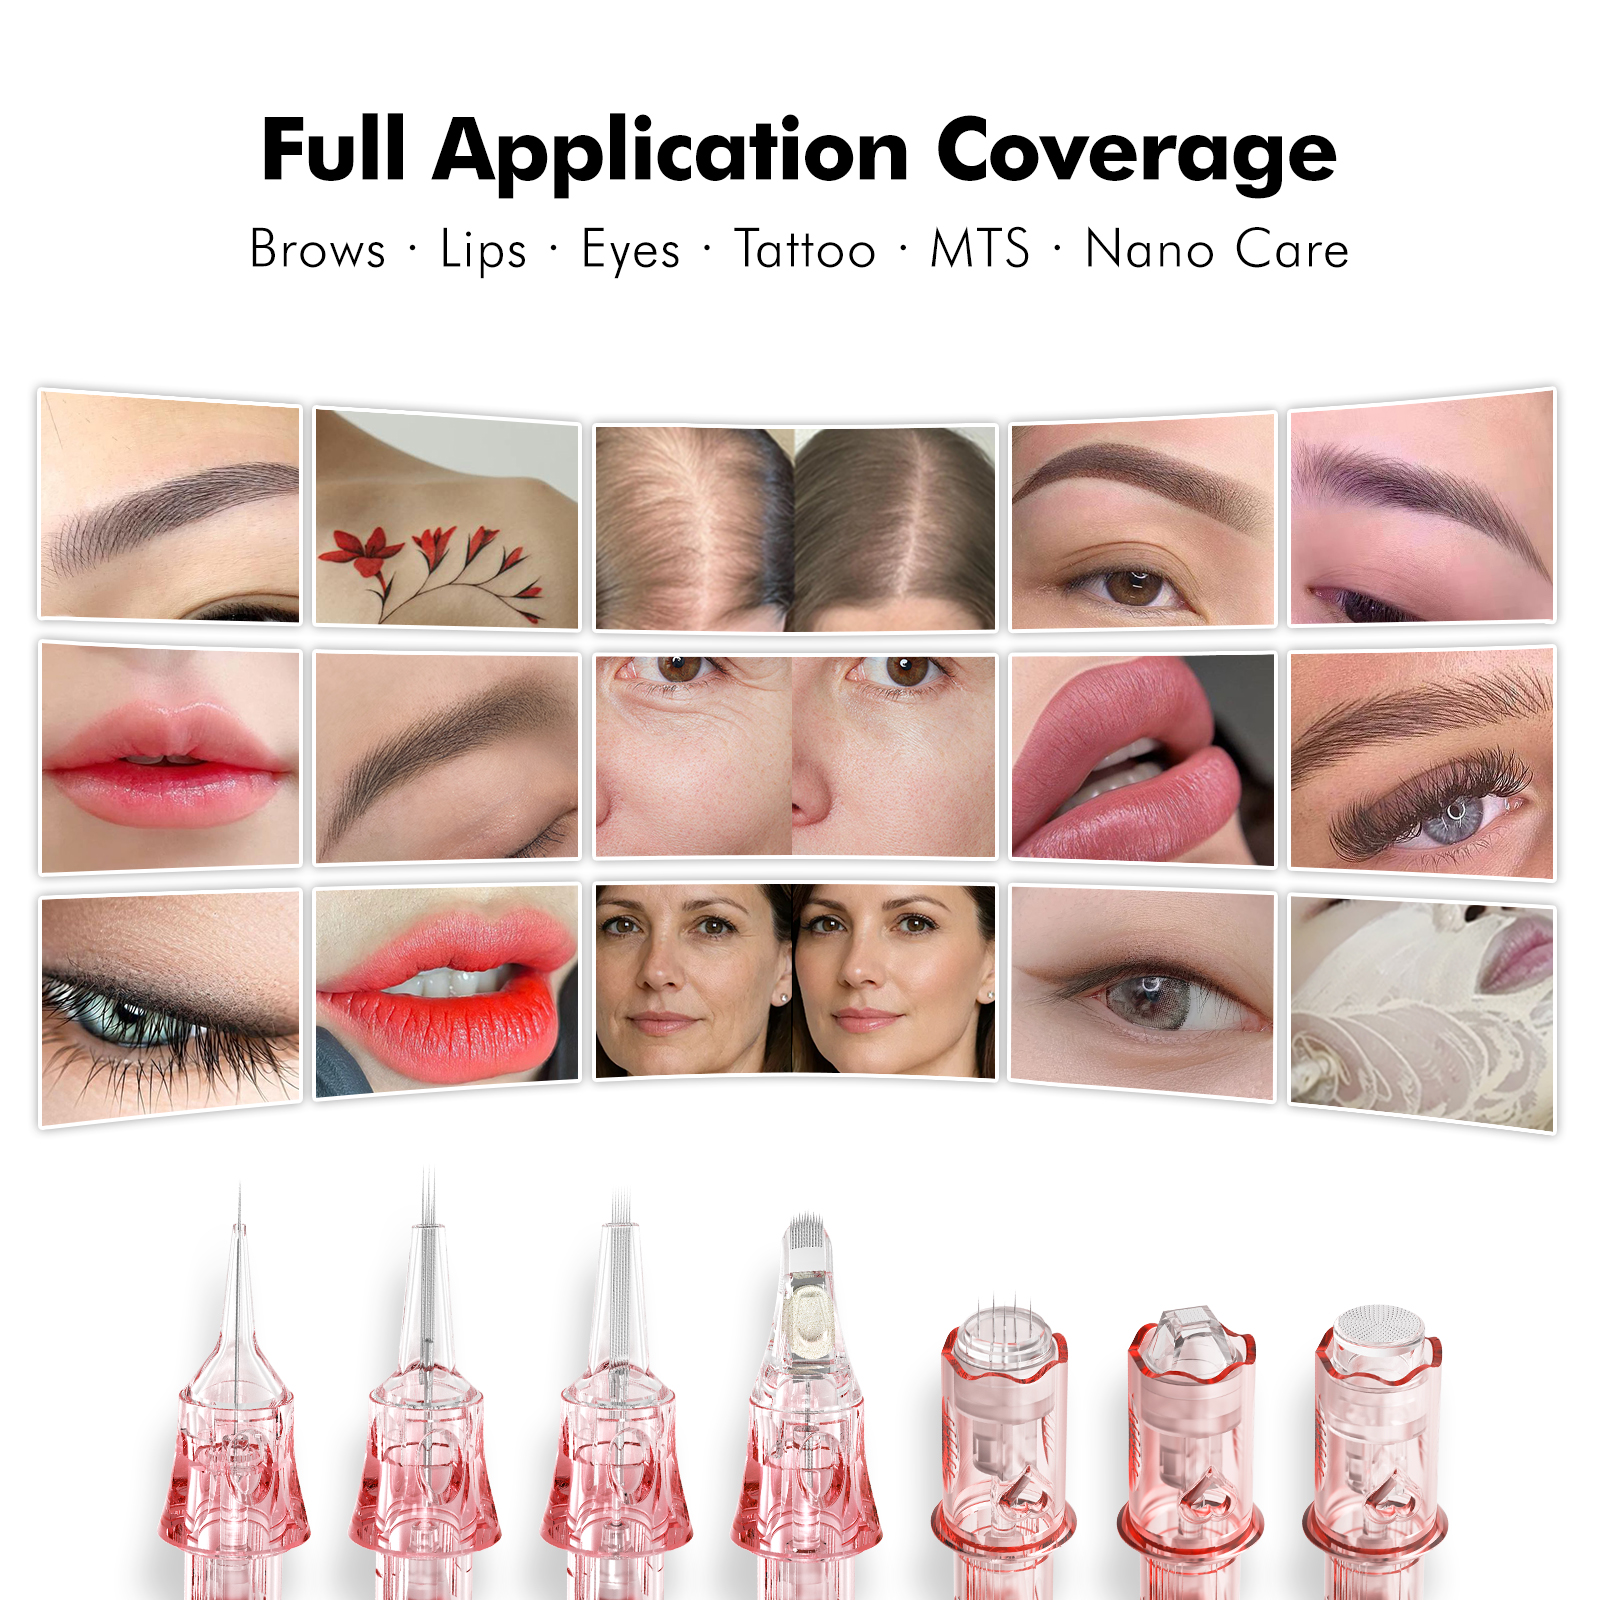
Of course, the world of PMU needles is rich. RL, RS, F, and M are far from everything. Just as after mastering basic paintbrushes you discover various shapes and tips that help you achieve richer artistic effects.
It’s worth noting that even when the configuration abbreviation is the same, different brands and manufacturers may have different design philosophies and craftsmanship. For brands or training academies, partnering with a reliable OEM/ODM factory not only ensures stable, high‑quality needles but also allows you to customize your own product line – embedding your operational philosophy into the product design – thereby building a professional reputation in the market.
NUOJO International
Three Factories, One Vision.
21 Years of Pigment, Needle & Machine Integration